Installation of the Sauna Heater and Chimney
Mikael Larsson / 2 min reading / Sauna
Install firewall panels in the corner of the room where the unit is to be placed. These panels can then be painted or covered with stone or clay tiles, but remember to choose a coating that can withstand heat without discolouration. The panels can also be left as they are. With the sauna heater in place, they won't be the centre of attention anyway.
Insert the floor protection plate in the firewall-covered corner and place the unit on top. It's a good idea to leave a decimetre (3.9 inches) of space between the wall and the unit, so that it's easy to keep the entire area clean from soot and wood shavings.
With the fireplace in place, measure the chimney hole in the ceiling. The hole should not only accommodate the chimney but also have a safety gap. The chimney must be a distance of at least ten centimetres (3.9 inches) away from combustible material, i.e. the tongue and groove panels in the ceiling. Any insulation material in connection with the chimney must have the correct fire protection class, so that it can withstand the heat.
Attach the chimney to the sauna heater and seal all the connecting holes with the included putty. The uninsulated pipe must be at the bottom. Then build with the insulated pipes, which need to be sealed in the same way.
The roof pipe itself is sealed with a strong rubber gasket from the top. Before it is fixed in place, the accompanying silicone must be liberally applied, which makes the entire construction water-repellent. A seal is attached under the ceiling. The upper part of the flue, up on the roof, is covered with a hood that prevents water from entering the pipe.
If you have questions or concerns, you’re welcome to contact us, and we can help you with advice and instructions. You should contact a chimney sweep for an inspection as soon as possible when the construction is complete but before you start using it.
The best way to get started - our guide!
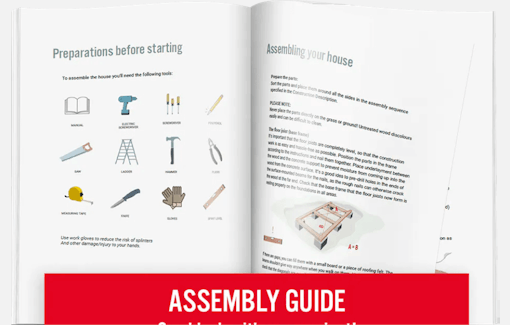
The best way to get started - our guide!
The assembly guide contains valuable tips and advice from our construction experts. A good base and a manual for those who plan to assemble the house themselves. We walk you through what’s important to consider before starting construction, the foundation options our experts recommend, and how the assembly works.
Read all about this and much more in our guide. We will send the assembly guide free of charge to your email. Good luck with your project!


