Your basket is empty, but it doesn't have to be! Call us on 01625 682250 if you need any advice
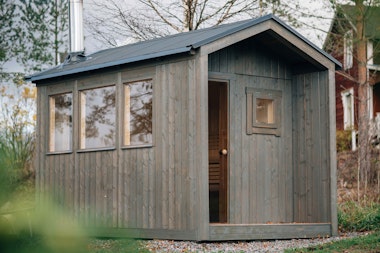
Garden Sauna Setup Guide
Tove Carlsson / 3 min reading /
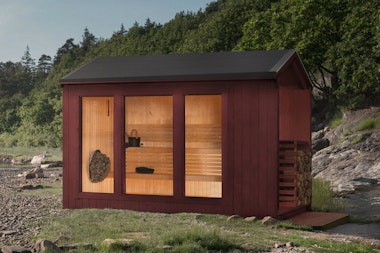
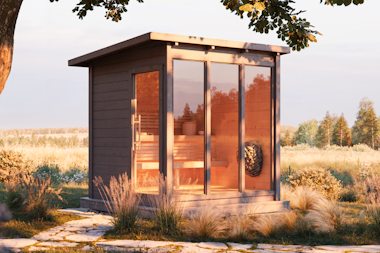
Sauna
Creating a garden sauna is one of the most rewarding ways to transform your outdoor space into a personal wellness retreat. A sauna in the garden offers daily access to warmth, recovery, and quiet moments – without leaving home. Whether your goal is muscle relaxation, stress relief, or simply a calm space to reset, building your own garden sauna is more achievable than many people think.
This guide walks you step by step through how to build a garden sauna, from early planning to the final finishing touches. It’s designed for beginners who want clear, practical guidance and the confidence to get started.
Step 1: Planning Your Garden Sauna
Careful planning is the foundation of every successful garden sauna setup. Before you begin construction, take time to think through the practical details.
Choose the right location
Your sauna should feel private, accessible, and well integrated into your garden.
Consider:
Ground conditions: Flat, stable ground makes construction easier and safer.
Distance from the house: Close enough for convenience, far enough for privacy.
Drainage: Avoid low areas where rainwater collects.
Sunlight: Partial sun can help keep the structure dry.
Views and privacy: Hedges, fencing, or natural screening enhance the experience.
For one or two people, a compact layout works well.
For family or social sessions, plan for more bench space.
Decide whether you want sitting-only benches or room to lie down.
Consider adding a small changing area if space allows.
A well-thought-out plan makes it much easier to build a garden sauna that fits both your garden and your lifestyle.
Step 2: Choosing the Right Materials
The materials you select will determine how well your DIY garden sauna handles heat, moisture, and time.
Best wood types for a garden sauna
Wood must tolerate high temperatures and fluctuating humidity without warping or cracking.
Recommended options:
Spruce: A reliable and widely used sauna material. Stable, affordable, and well suited for wall and ceiling panels.
Aspen: Smooth and knot-free, making it especially comfortable for benches. It stays relatively cool to the touch and offers a clean, light appearance.
Thermally treated wood: Improved resistance to moisture and movement, ideal for exterior cladding.
Avoid pressure-treated construction timber inside the sauna, as it can release unwanted substances when exposed to heat.
Insulation
Proper insulation ensures your sauna heats efficiently and maintains consistent temperatures.
Use:
Mineral wool or sauna-specific insulation
Wooden interior paneling as the final layer
This layered structure improves energy efficiency and extends the lifespan of your outdoor sauna construction.
Flooring considerations
Choose materials that handle both moisture and temperature changes:
Wooden sauna floors with small ventilation gaps
Good flooring supports hygiene and airflow.
Step 3: Building the Structure
Once planning and materials are in place, you can begin constructing the frame and walls.
Frame and walls
Build a sturdy timber frame anchored securely to your foundation.
Install insulation between wall studs.
Add the vapor barrier carefully, sealing all joints.
Attach interior sauna panels.
Precision here ensures better heat retention and long-term durability.
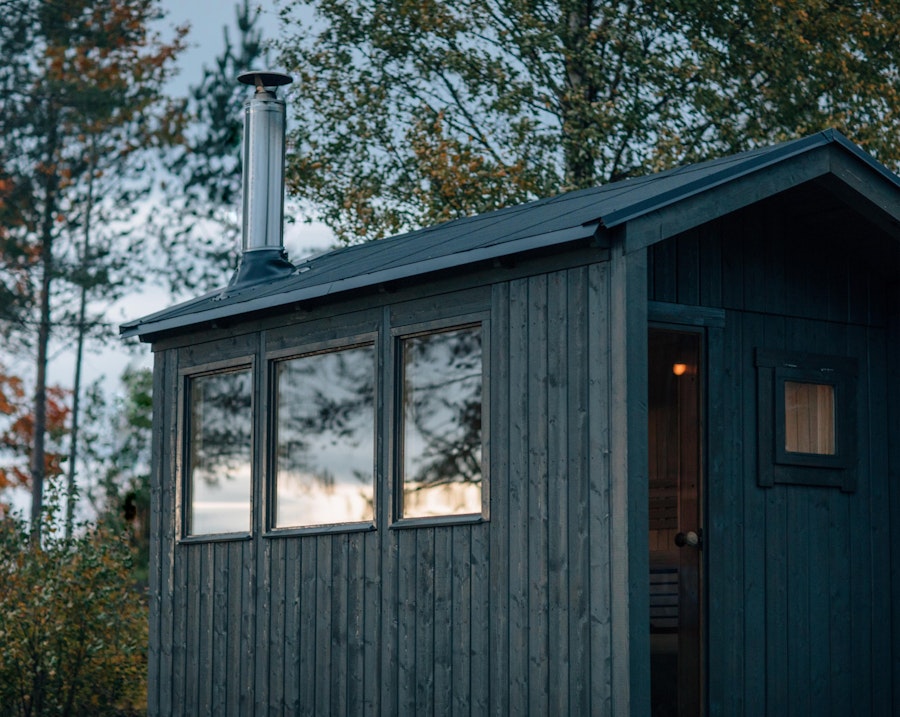
Roof and weather protection
Your sauna must withstand all seasons.
Install a slight roof slope to allow rain and snow runoff.
Use a moisture-resistant roofing membrane.
Add roof overhangs to protect walls from heavy rainfall.
Weather protection is key to making your sauna for garden use last for years.
Ventilation
Proper ventilation is essential for comfort, safety, and durability.
With an electric heater, install an exhaust vent diagonally across the sauna room, about 150 mm below the ceiling.
With a wood-burning heater, add a fresh air intake vent placed low, near the heater, in addition to the exhaust vent.
Correct airflow improves heat distribution, supports combustion in wood-fired setups, and helps prevent moisture buildup over time.
Step 4: Installing the Sauna Heater and Electrical Setup
The heater is the heart of your garden wellness retreat.
Heater options
Electric sauna heater: Easy to operate, low maintenance, and precise temperature control.
Wood-burning heater: Traditional atmosphere and independent from electricity, but requires chimney installation and fire safety planning.
Choose based on your local regulations, energy access, and personal preference.
Electrical safety
If you choose an electric heater:
Hire a certified electrician for installation.
Follow all local building and electrical regulations.
Safety and compliance are critical when learning how to build a sauna correctly.
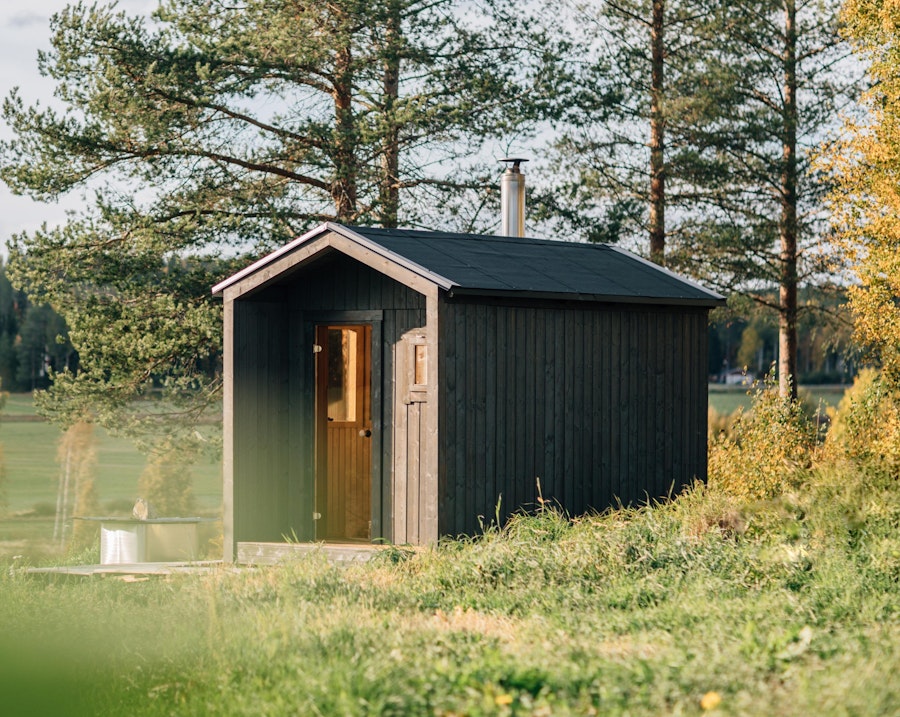
Step 5: Finishing Touches and Enjoying Your Garden Sauna
This is where your project truly becomes a personal retreat.
Interior details
Install ergonomic benches at different heights.
Use soft, indirect lighting for a calm atmosphere.
Add wooden backrests and headrests for comfort.
Keep the design simple and natural. A sauna works best when it feels calm and uncluttered.
Exterior integration
To create a complete garden wellness retreat:
Add a small deck or stone pathway.
Place simple seating outside for cooling down.
Use natural landscaping to blend the structure into the garden.
A well-designed Garden Sauna becomes a natural extension of your outdoor living space rather than a separate structure.
Maintenance tips
To keep your sauna in excellent condition:
Air it out after every session.
Wipe benches with mild soap and water.
Inspect ventilation and heater annually.
Re-treat exterior wood as needed.
Regular care ensures your DIY garden sauna remains safe and beautiful for decades.
Conclusion: Build a Garden Sauna That Enhances Everyday Life
To build a garden sauna is to invest in daily wellbeing. With careful planning, the right materials, and attention to safety, even beginners can successfully complete this project.
Step by step, you create more than a structure—you create a place for warmth, quiet conversations, recovery after long days, and moments that feel grounded and simple.
Ready to start building your own wellness oasis? Discover more sauna inspiration and expert guidance on our blog and take the first step toward your garden retreat.
There’s something magical about the Danish concept of hygge a sense of warmth, comfort, and well-being that makes everyday life feel more joyful. While hygge is often associated with cozy indoor spaces, it can be just as transformative in your garden. By embracing hygge outdoors, you can create a serene retreat where you can relax, connect with nature, and enjoy your home like never before.
More than 20 years of experience – gathered in one place.
The best way to get started - our guide!
FREE GUIDE
The best way to get started - our guide!
30 pages with illustrations & explanations
The assembly guide contains valuable tips and advice from our construction experts. A good base and a manual for those who plan to assemble the house themselves. We walk you through what’s important to consider before starting construction, the foundation options our experts recommend, and how the assembly works.
Read all about this and much more in our guide. We will send the assembly guide free of charge to your email. Good luck with your project!