
Articles
Start / Articles / Building and insulating a sauna
Building and insulating a sauna
Building and insulating a sauna isn’t especially complicated, but there are some things to bear in mind to get a perfect result.
Contents
- Building an outdoor sauna
- Building an indoor sauna
- How much does building a sauna cost?
- Insulation
- Choosing the sauna heater
- Choosing the panel
- Sauna doors
- Ventilation
- Sauna interiors
Building an outdoor sauna
Building a sauna is usually done in two different ways and the most common is to buy a sauna kit or to let a professional company build the sauna on site. The biggest advantage of buying a construction kit is that it can be completed in a few hours (feel free to get help from some friends). Before you start building your sauna, it's good to know the following:
- In Sweden, to build a free-standing sauna outdoors, without a building permit, the total area must not exceed 30 m² (the same rules as for a garden house ). The sauna must not be within 4.5 metres of the plot boundary or road, otherwise permission from the neighbour(s) or the road owner(s) is required. The roof ridge height may not exceed 4 metres
- Notification of the construction may need to be sent to your local council planning department
- If you want to install drains, water, fireplace, etc. in the sauna you need to register that with your council
- The ceiling height must not be lower than 190 cm (6.2 ft). However, it's advantageous to keep the height relatively low as heat rises in the sauna
- Normal ceiling heights are between 190 cm (6.2 ft) and 220 cm (7.2 ft) (the higher the ceiling, the more heat the unit needs to create)
- A free-standing sauna should be insulated in the ceiling with 45-70 mm (1.8-2.8 inches) insulation
- Make sure that the sauna is well ventilated - the air needs to move in order for it to become warm.
- Install the sauna door so that it opens outwards and place it on the same side as the sauna heater. For safety reasons, make sure that the door isn’t lockable
- The sauna should be at least 2 metres (6.6 feet) wide so that there's room to lie down in it
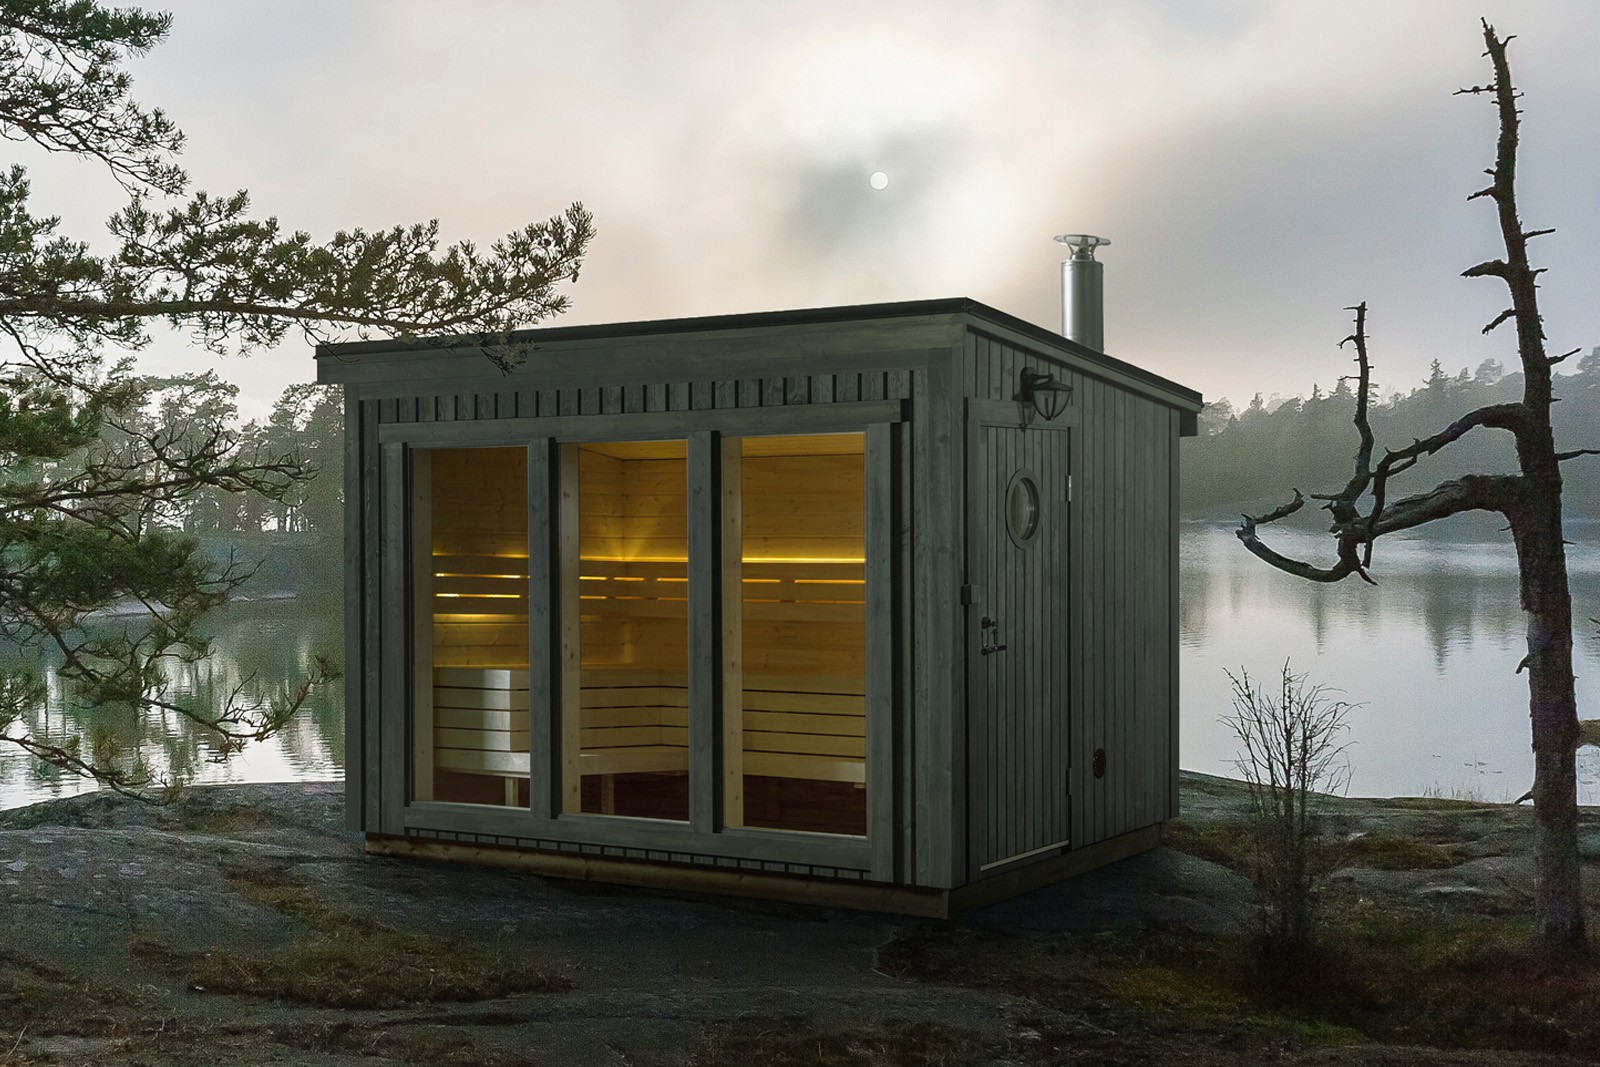
In the picture you can see Sauna Oscar
There are different criteria to consider depending on whether you build the sauna outdoors or indoors. The biggest advantage of building a wood-fired sauna is that you can place it virtually anywhere. Create a magnificent view, place it close to a lake or build a floating sauna. You decide!
Building an indoor sauna
Building a sauna or a sauna room indoors doesn't usually require planning permission (in Sweden), as long as the sauna doesn't affect the exterior of the house.
- As a rule, it doesn't require a building permit (in Sweden), however, a report to the building committee may be needed if you make changes to sewers, water pipes, etc.
- The ceiling height may not be lower than 190 cm (6.2 ft) (in Sweden). However, it's good to keep the height relatively low as the heat rises in a sauna
- Make sure that the sauna is well ventilated, the air needs to move in order for it to become warm
- Indoor saunas should be insulated in the ceilings and walls with 45-70 mm (1.8-2.8 inches) insulation
- An electric sauna heater must be installed by a qualified electrician
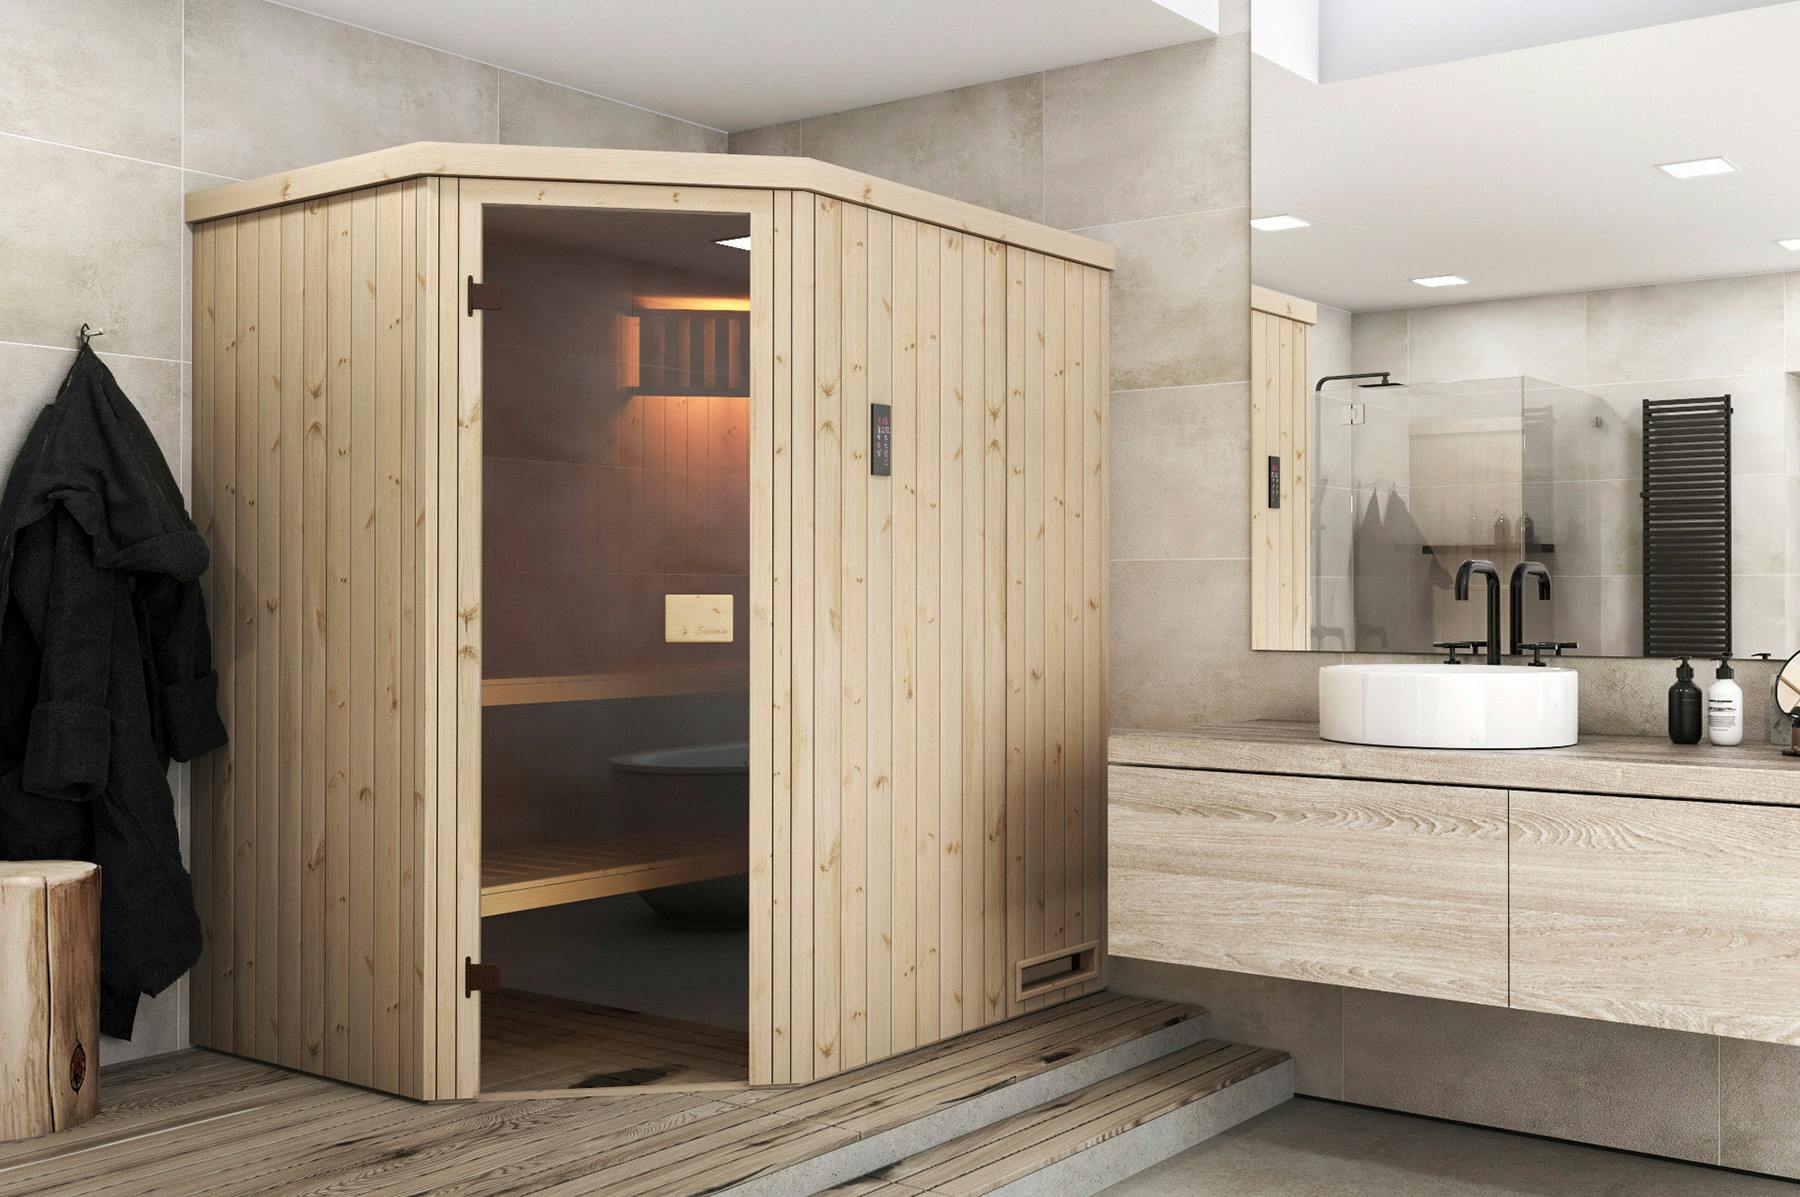
In the picture you can see Sauna room Hasse
How much does building a sauna cost?
The price for building your own sauna depends entirely on the type of sauna you want to build and the conditions. Buying a sauna kit is usually both easier and cheaper than hiring a professional to build one. You can of course build it all yourself to keep the costs down but it's not something we would recommend for a beginner.
When you buy kits from Polhus, you can count on these approximate costs:
- Free-standing outdoor sauna to build, around 50 000 - 100 000 SEK (4,000-8,000 GBP)
- Indoor sauna room to build, around 20 000 - 25 000 SEK (1,600-2,000 GBP)
- Outdoor sauna barrel to build, around 30 000 - 60 000 SEK (2,500-5,000 GBP)
- Then add the costs for any foundations, the sauna heater and other accessories
Insulation
The first step in building a sauna is the sauna insulation. It may seem unimportant because the room is small and only heats up sporadically, and it heats to such a high temperature that you might think a few millimetres of insulation material don't matter. But by being meticulous with the insulation, it's faster to heat it up and the temperature will stay at an even and comfortable level more easily.
When you build your sauna, you should put 45-70 mm (1.8-2.8 inches) insulation in the ceiling (for a free-standing sauna) and preferably both in the ceiling and walls for an indoor sauna. Glass wool is the best material to use. It's non-combustible, keeps its shape and is easy to work with. On external walls, there must be at least a 20 mm (0.8 inches) air gap between the sauna and the external wall. The same goes for the ceiling.
Choosing the sauna heating
There are two different types of sauna heaters that you can choose from. They have different advantages depending on whether you’re building a free-standing sauna outdoors, indoors or against the house wall.
Wood-burning sauna heaters
If you build your sauna outdoors, there's nothing that beats the feeling of a classic wood-burning sauna. This provides a more even heat but requires a chimney and masonry.
- For a wood-burning sauna in Sweden, planning permission is required for the installation of a fireplace, and the same applies to drains and water.
- Fire protection rules apply if your sauna is larger than 10 m² (107.6 ft²) and is closer than 4 metres (13 feet) to the residential building
Electric sauna heaters
These are suitable for building a sauna indoors, e.g. in the basement. The fact that it is powered by electricity and placed indoors makes it easier to use the sauna throughout the year. All it takes is a push of a button to get started. The ouptut of the unit is determined by the size of the sauna. The larger the sauna, the more powerful the heater needed.
(Combi heaters)
These function as both dry and steam sauna heaters, depending on whether you choose to use water to increase the humidity.
Choosing the panel
Different types of wood have different properties. In addition to the difference in colour, they absorb heat differently, which is something you want to avoid. It's the room should be warm, not the walls. For the benches, you also want a knot-free material that's comfortable to sit on, such as alder or aspen, but there's nothing to prevent you from mixing materials in the sauna and, for example, having one type of wood in the walls, another in the ceiling and a third to sit on.
Sauna doors
For safety reasons, a sauna door should always open outwards because the moisture can cause it to swell and it's easier to open it outwards than into the room. In addition, it should preferably be on the same wall as the sauna heater, to optimise circulation.
Ventilation
It may seem like the wrong tactic to ventilate the air in a sauna, where you want to have time to heat it to a really high temperature first, but to get warmth in the sauna the air needs to move.
The air valve should be placed far down, as close to the sauna heater as possible. The outgoing vent should be high up on the wall or ceiling on the opposite side, i.e. at the maximum distance from the intake air valve. The valves must be the same size and open into the same space for optimal ventilation.
Sauna interiors
There is a huge amount of sauna equipment and sauna accessories you can buy. Benches, thermometers, rods, buckets, brushes, hangers, chairs and ornaments are available, but a good rule of thumb is to leave the interior clean and practical.
When you build your sauna, you should place the benches so you don't have to step over each other when you go in and out, and keep the decorations to a minimum.
If you have any questions or problems about building a sauna, feel free to contact our construction experts who can help you with all aspects of your project.
Related to building and insulating a sauna
Polhus Sauna Cabins/Sauna Houses

Polhus Aktiebolag
31 Djäknegatan
Malmö 211 35
GB420120766